Products
How to Bulk Edit Handle (URL)
Last updated
The handle is the slug at the end of a product URL — your-store.com/products/<handle>. This guide shows how to set it outright, tack text onto either end, find-and-replace, or trim it.
Heads up: Shopify auto-creates handles from the title. Most stores leave them alone. Change a handle and the old URL stops resolving — leave Create web redirects if the handle changes on (the default) so old links still work.
Step 1: Pick the Handle (URL) field
In the Configure Product Edits panel, click Select Field. Handle (URL) is the first item under Product Fields.
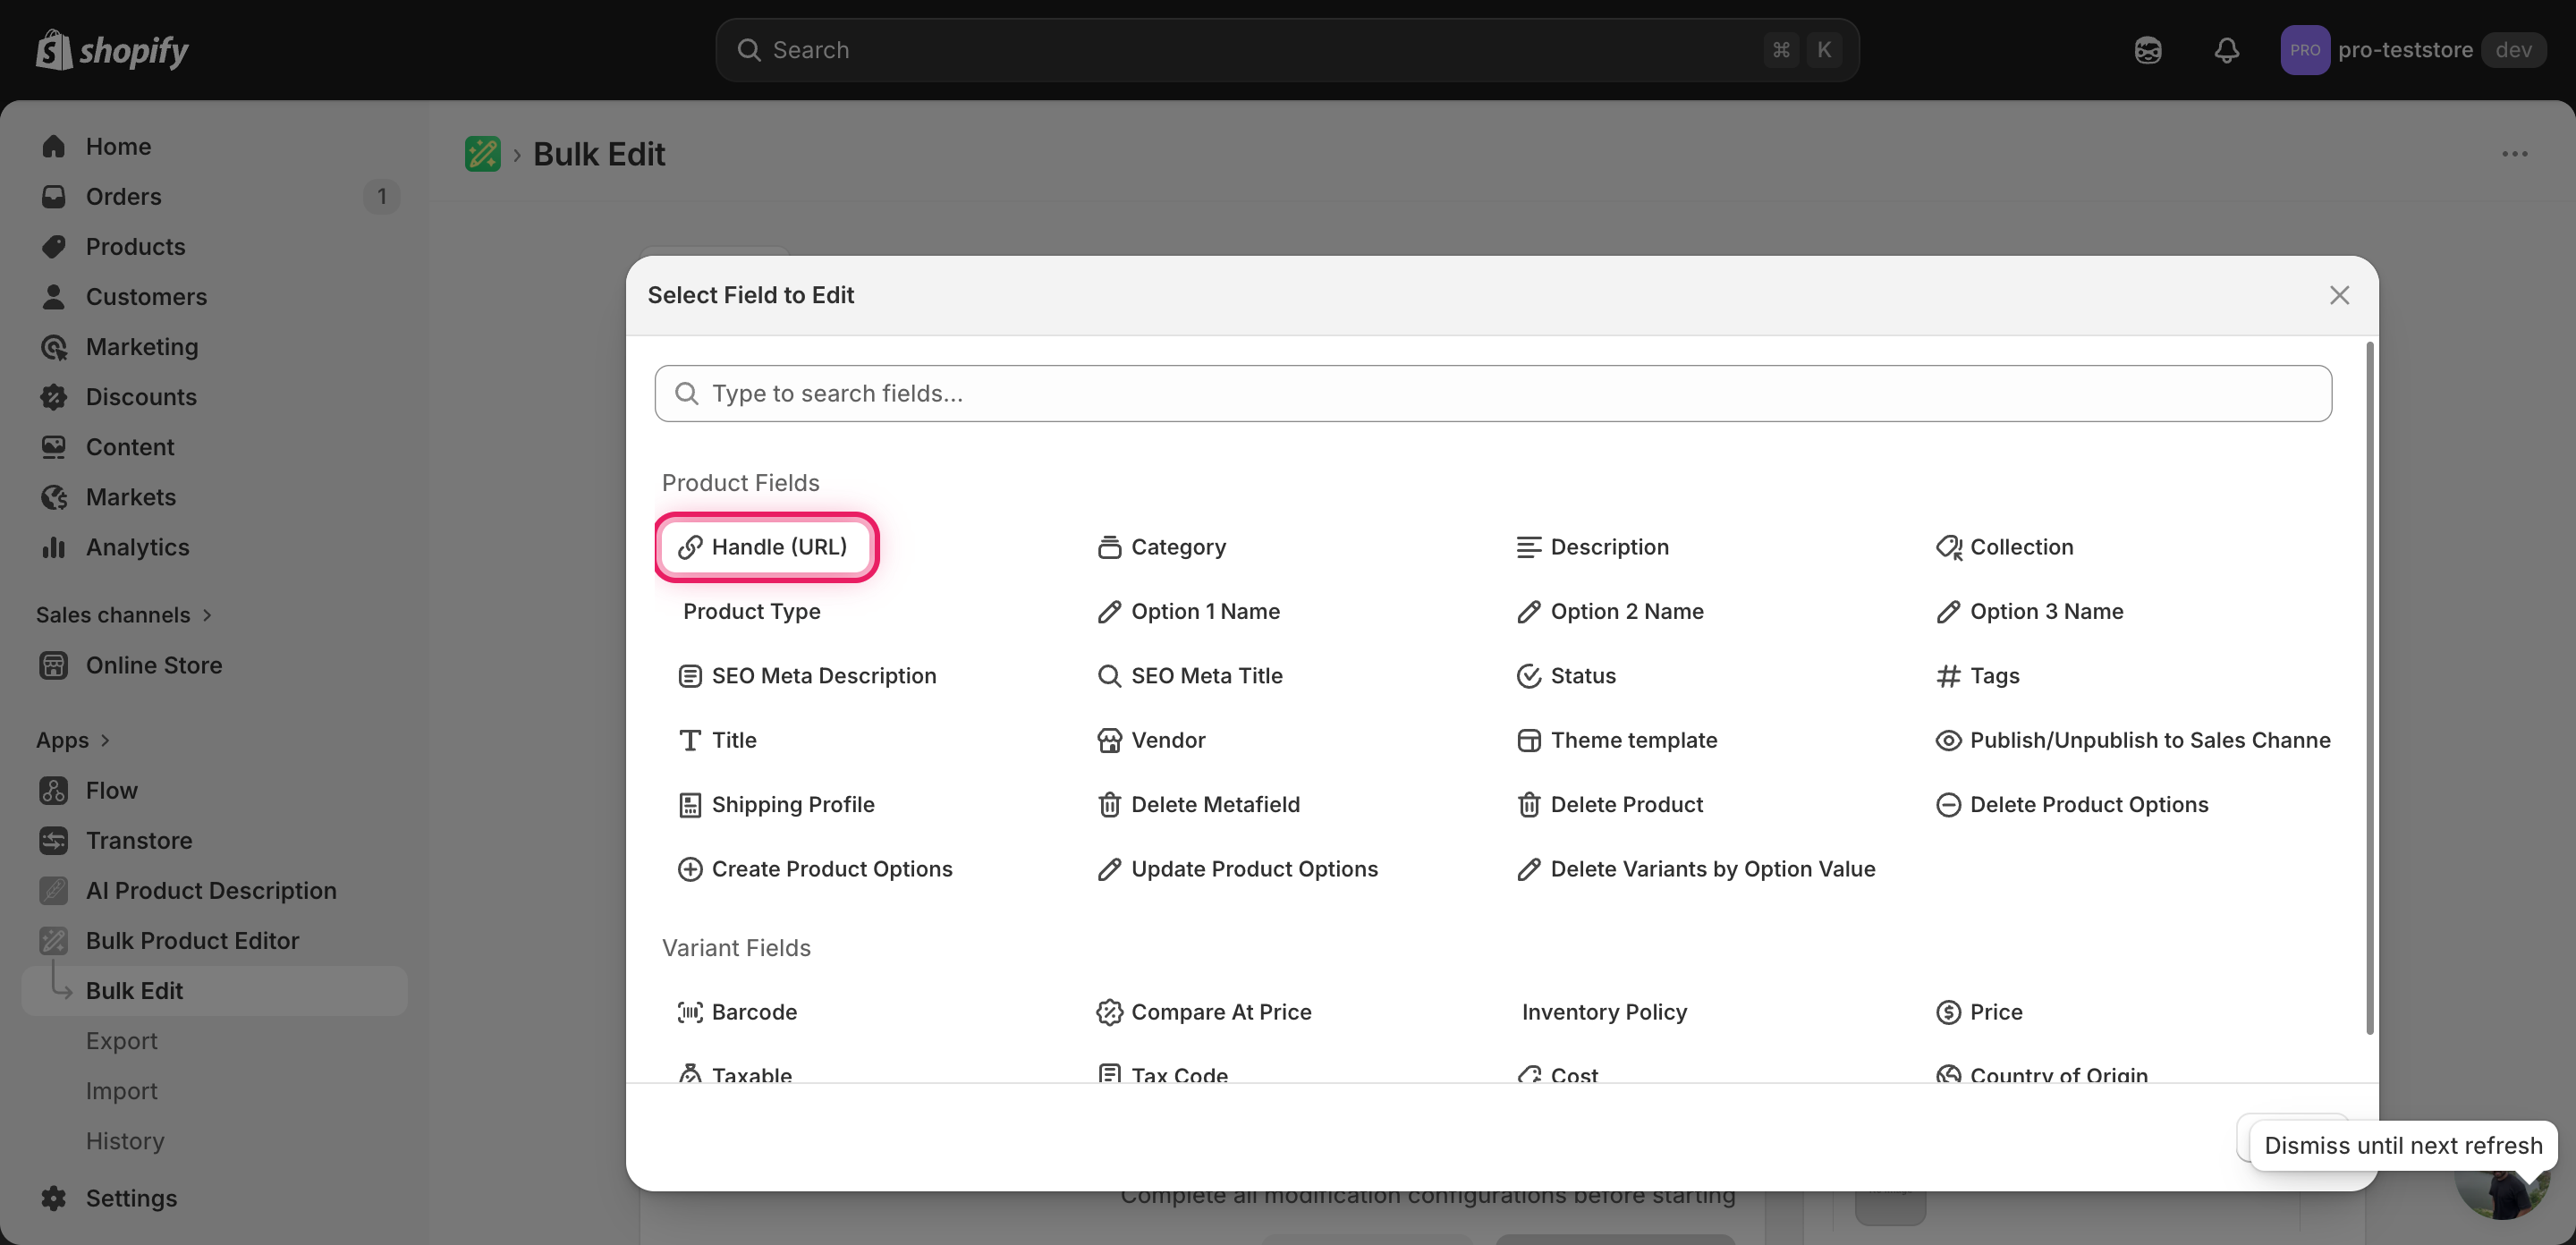
Click it. The configuration panel switches to a How to edit Handle dropdown and a value input.
Step 2: Choose how to change the handle
Seven actions are available.
Direct value
- Set handle to value — every matched product gets this exact handle. Best when you also use a dynamic value (see Step 3) so each product still gets a unique slug.
Adjust the existing handle
- Add text to end — append a fixed string (e.g.
-2026becomesoldhandle-2026). - Add text to beginning — prepend (e.g.
sale-becomessale-oldhandle). - Remove text from end — strip a suffix you regret adding.
- Remove text from beginning — strip a prefix.
- Find text and replace — swap one substring for another, optionally case-insensitive.
- Limit length of text — cap the handle at N characters (Shopify allows up to 255).
Step 3: Enter the value
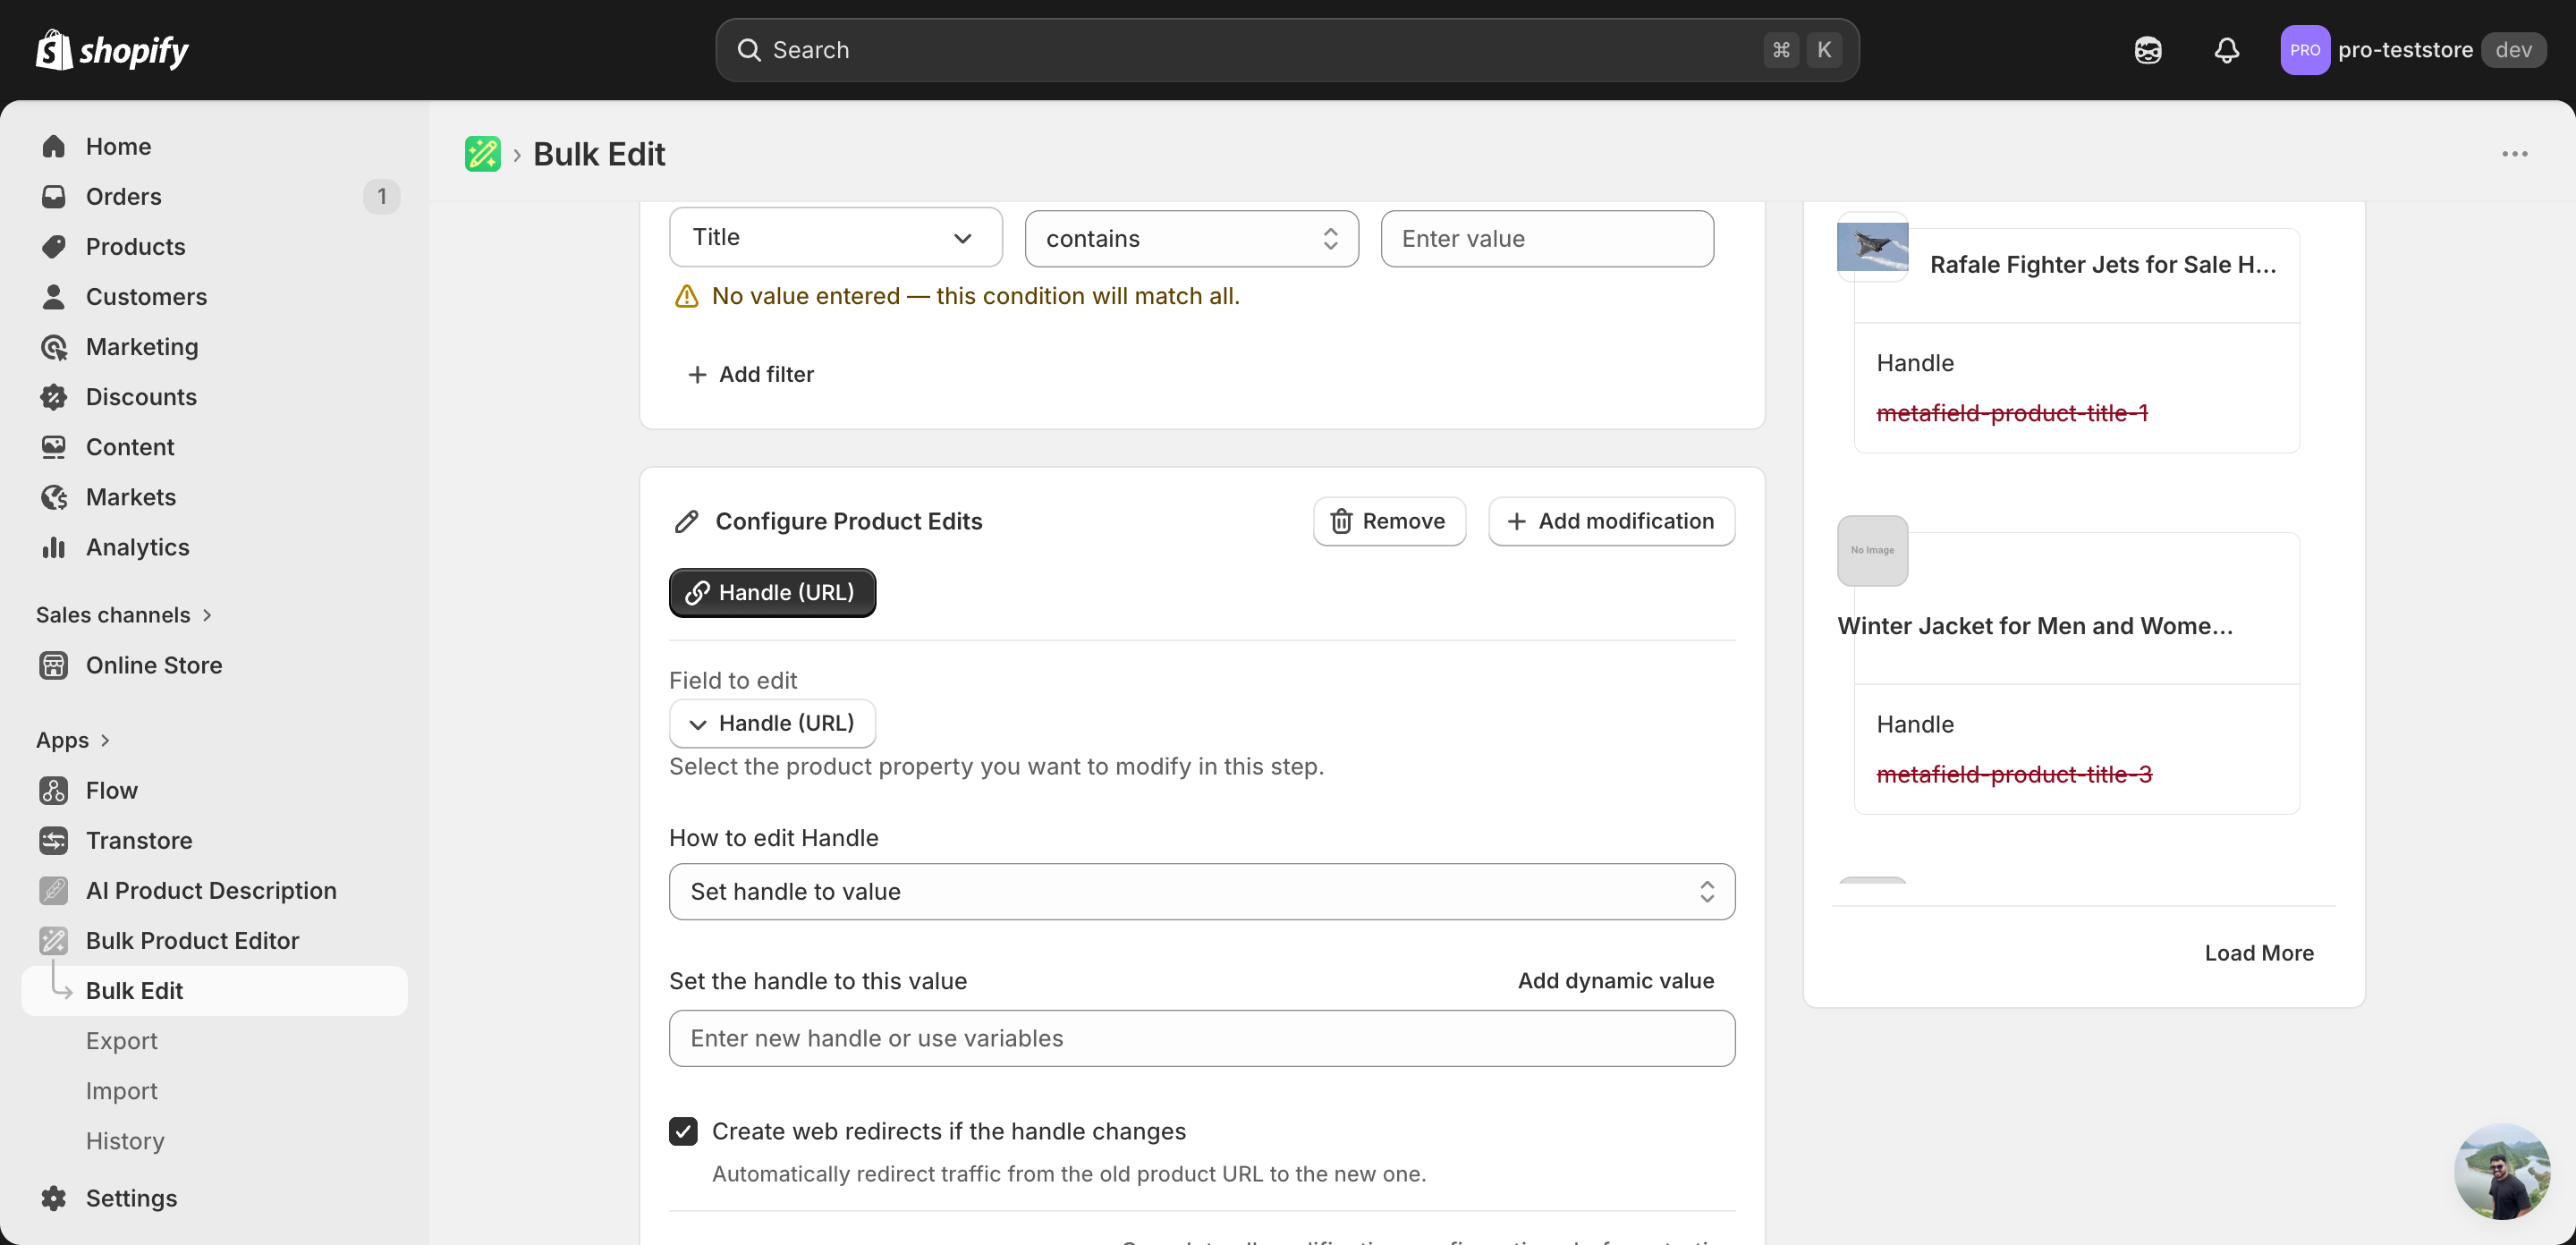
Set handle to value
Type the new handle in the Set the handle to this value input.
Use dynamic values to keep slugs unique. Click Add dynamic value above the input to insert a token like
{product.handle}or{product.title}. The example above sets every handle to<original-handle>-summer-sale, so each product still gets a unique URL.Setting a literal value with no dynamic token across many products will collide — Shopify auto-appends
-1,-2, etc. to dedupe, which is rarely what you want.
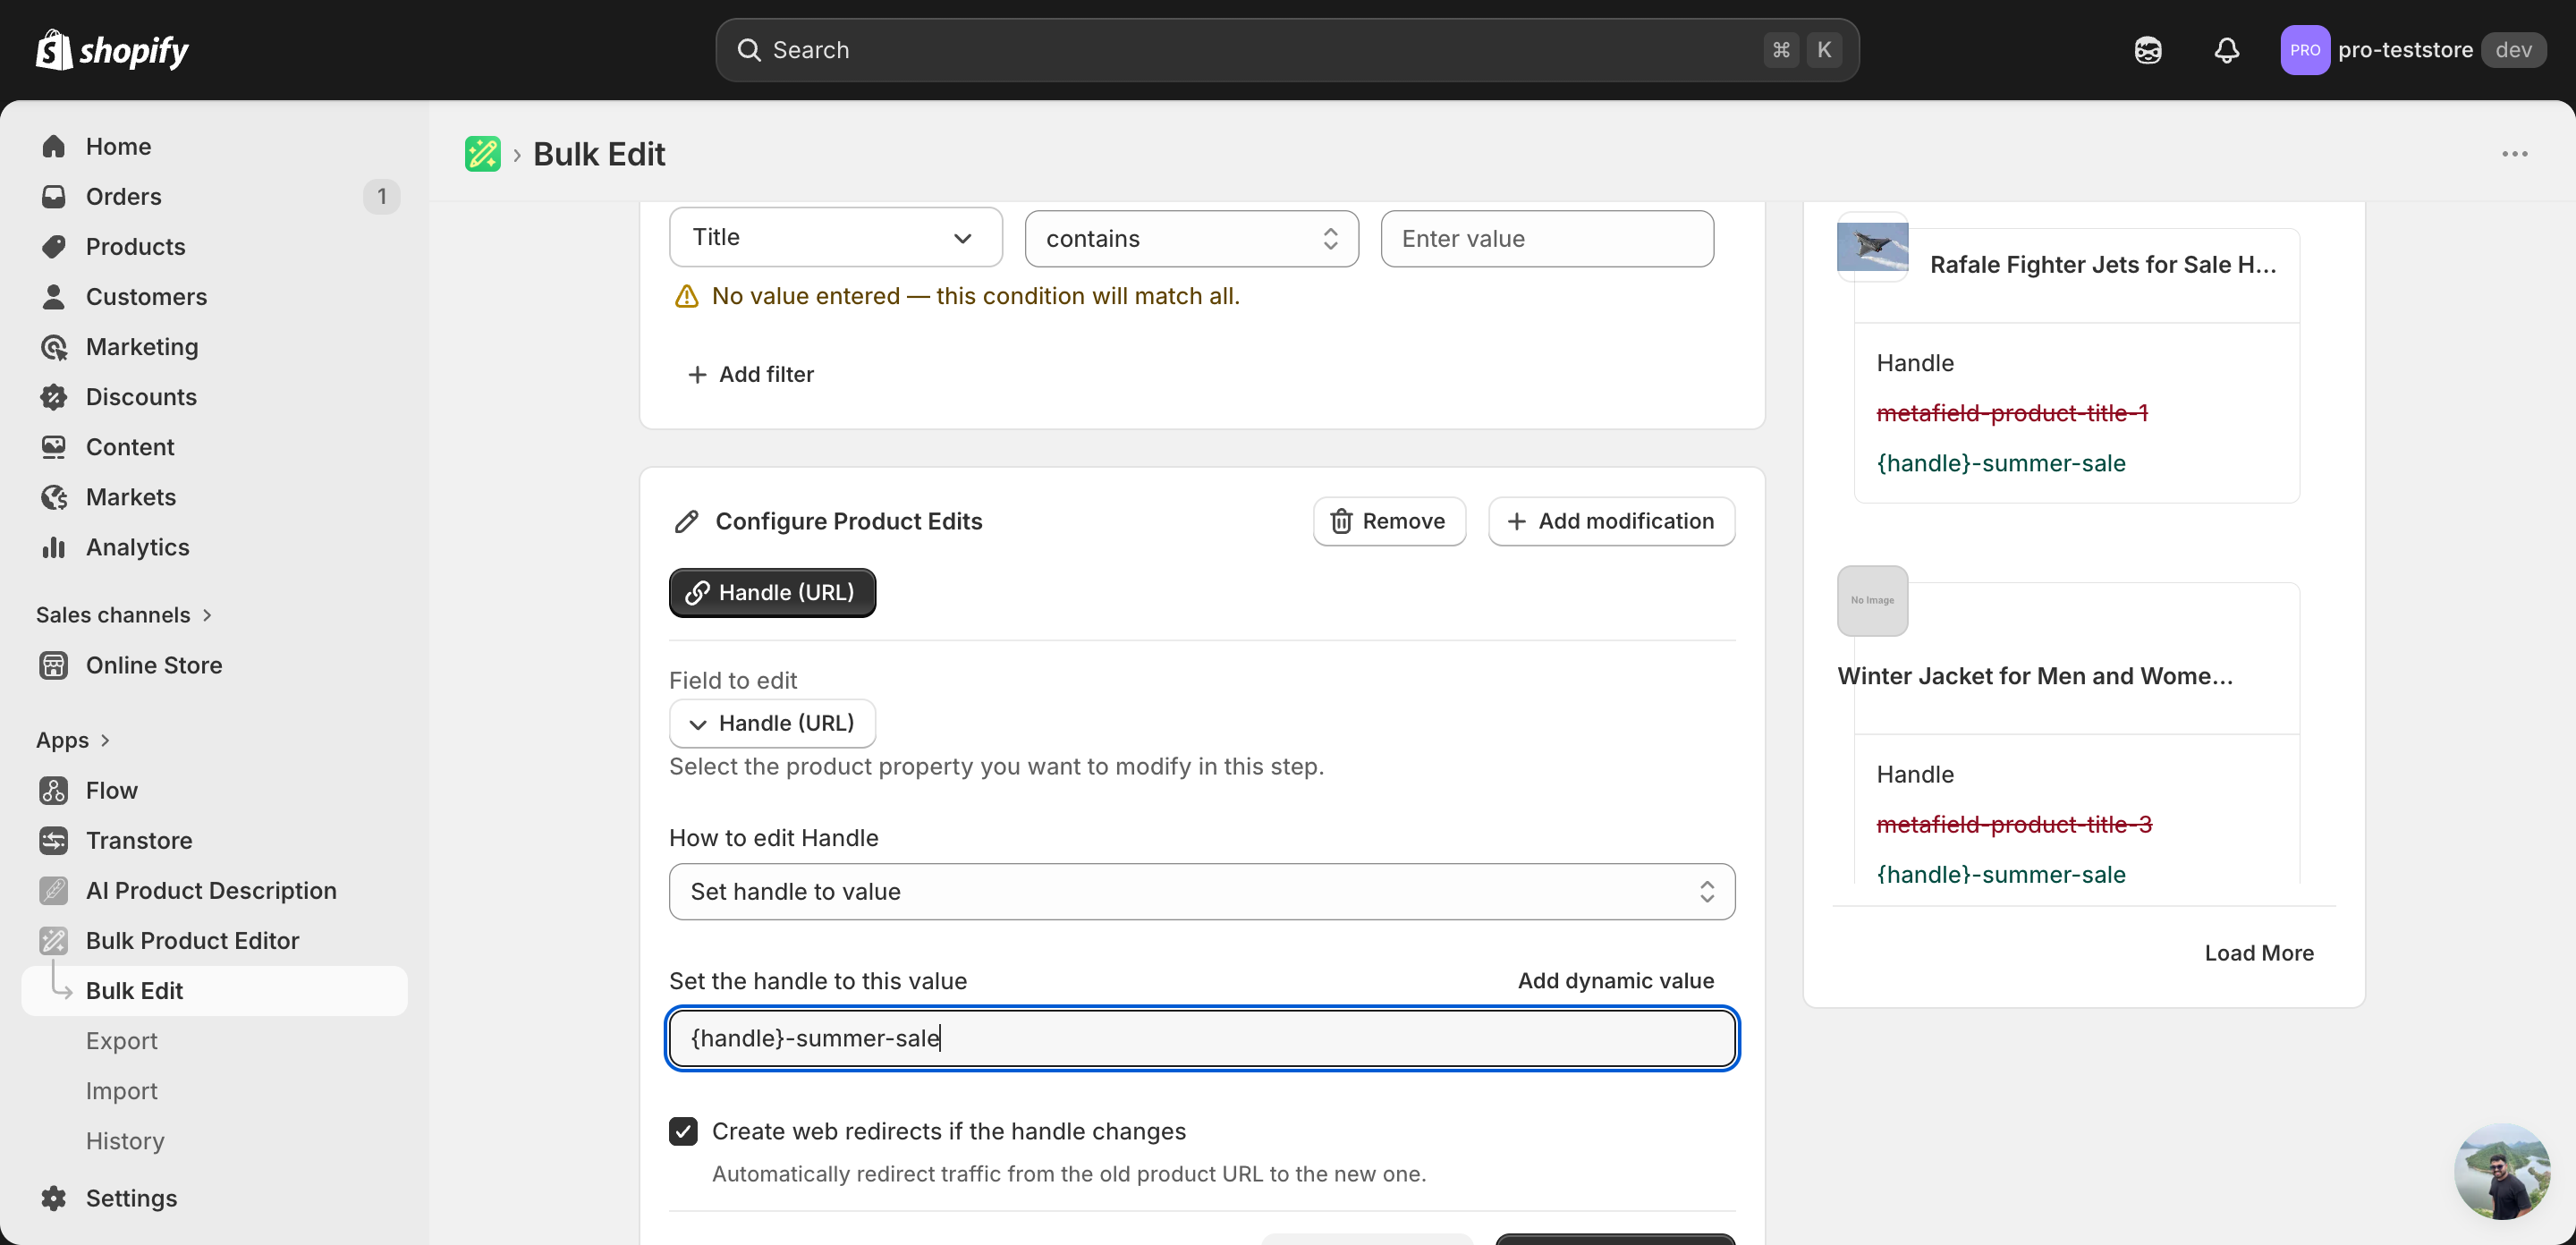
Find text and replace
Two inputs — what to look for, and what to replace it with — plus a Case insensitive checkbox.
Use this to rename a season or a category across many handles in one shot.
Add / remove text from end or beginning
A single input. Whatever you type gets appended, prepended, or stripped from the matching end of every handle.
Limit length of text
A single number input — handles longer than this get truncated to fit.
Step 4: Decide on redirects
Below the value inputs there's a Create web redirects if the handle changes checkbox, on by default.
Leave it on unless you have a specific reason to remove the redirect. With it off, every old product URL — including links from Google, social posts, and email campaigns — returns a 404 the moment the handle changes.
After the run
- Handle changes are reversible from the History page using Undo. Undoing also removes the redirects this run created.
- Watch for empty handles: if your action would produce a blank string (e.g. removing all text), Shopify rejects the update and that product is skipped.
- Two products in the same run resolving to the same handle? Shopify dedupes by appending
-1,-2and so on. The Edit Preview on the right shows the proposed new handle per product — scan it before you run.
Frequently asked questions
How do I bulk edit product handles (URL slugs) in Shopify?
In EditEngine, click Select Field in the Configure Product Edits panel and pick Handle (URL) under Product Fields. Seven actions are available — set the handle to a value, add or remove text at either end, find and replace, or limit length. The Edit Preview shows the proposed new handle for every product.
Will old product URLs break if I change handles in bulk in Shopify?
Not if you leave the Create web redirects if the handle changes checkbox on — it is the default. With it off, every old product URL, including links from Google, social posts, and email campaigns, returns a 404 the moment the handle changes. Leave it on unless you have a specific reason.
Can I undo a bulk handle change in Shopify?
Yes. Handle changes are reversible from the History page using Undo, and undoing also removes the redirects that run created. Before running, scan the Edit Preview in EditEngine to verify each proposed handle — catching a mistake there is easier than reversing it afterwards.
What happens if two Shopify products end up with the same handle?
Shopify dedupes by appending -1, -2 and so on. The same thing happens when you set a literal value with no dynamic token across many products — every handle collides and gets auto-numbered, which is rarely what you want. Insert a dynamic value like {product.handle} to keep each slug unique.
Can a bulk edit leave a Shopify product handle empty?
No. If your action would produce a blank string — for example by removing all of the text — Shopify rejects the update and that product is skipped. Check the Edit Preview before running so you can spot any handles that would come out empty.