Variants & options
How to Bulk Update Shopify Province of Origin Per Variant
Last updated
Need to bulk update Shopify province of origin per variant so customs forms and duty calculations show the right sub-region for every SKU? With EditEngine Bulk Product Editor, you export your variants to a spreadsheet, write the ISO 3166-2 subdivision code on each row, and import the file back. Because every variant can ship from a different state or province, the per-row spreadsheet workflow is the right tool for this job.
What you'll learn
- Export every product with its current province of origin
- Edit province of origin per row in a spreadsheet
- Import the updated file back to Shopify
What you'll need
- The EditEngine Bulk Product Editor app installed in your Shopify store
- A Shopify store with products that have variants and a Country of Origin already assigned at the variant level — the province code only resolves against an existing country
- Access to ISO 3166-2 subdivision codes for the relevant countries (for example
US-CAfor California,CA-ONfor Ontario,JP-13for Tokyo) - The Advanced import flow in EditEngine Bulk Product Editor — per-variant customs fields are advanced-import only
- A spreadsheet editor (Excel, Google Sheets, Numbers — anything that opens CSV)
Province of origin is the sub-region — state, province, prefecture — paired with the country of origin on a variant. Shopify sends both to carriers and customs authorities so duties and import taxes calculate correctly at checkout. The field is per-variant, lives under the variant's customs information, and accepts an ISO 3166-2 code rather than a free-text name.
Step 1 — Export your Shopify province of origin
Open EditEngine and go to the Export page. This is where you choose which variant fields land in your spreadsheet.
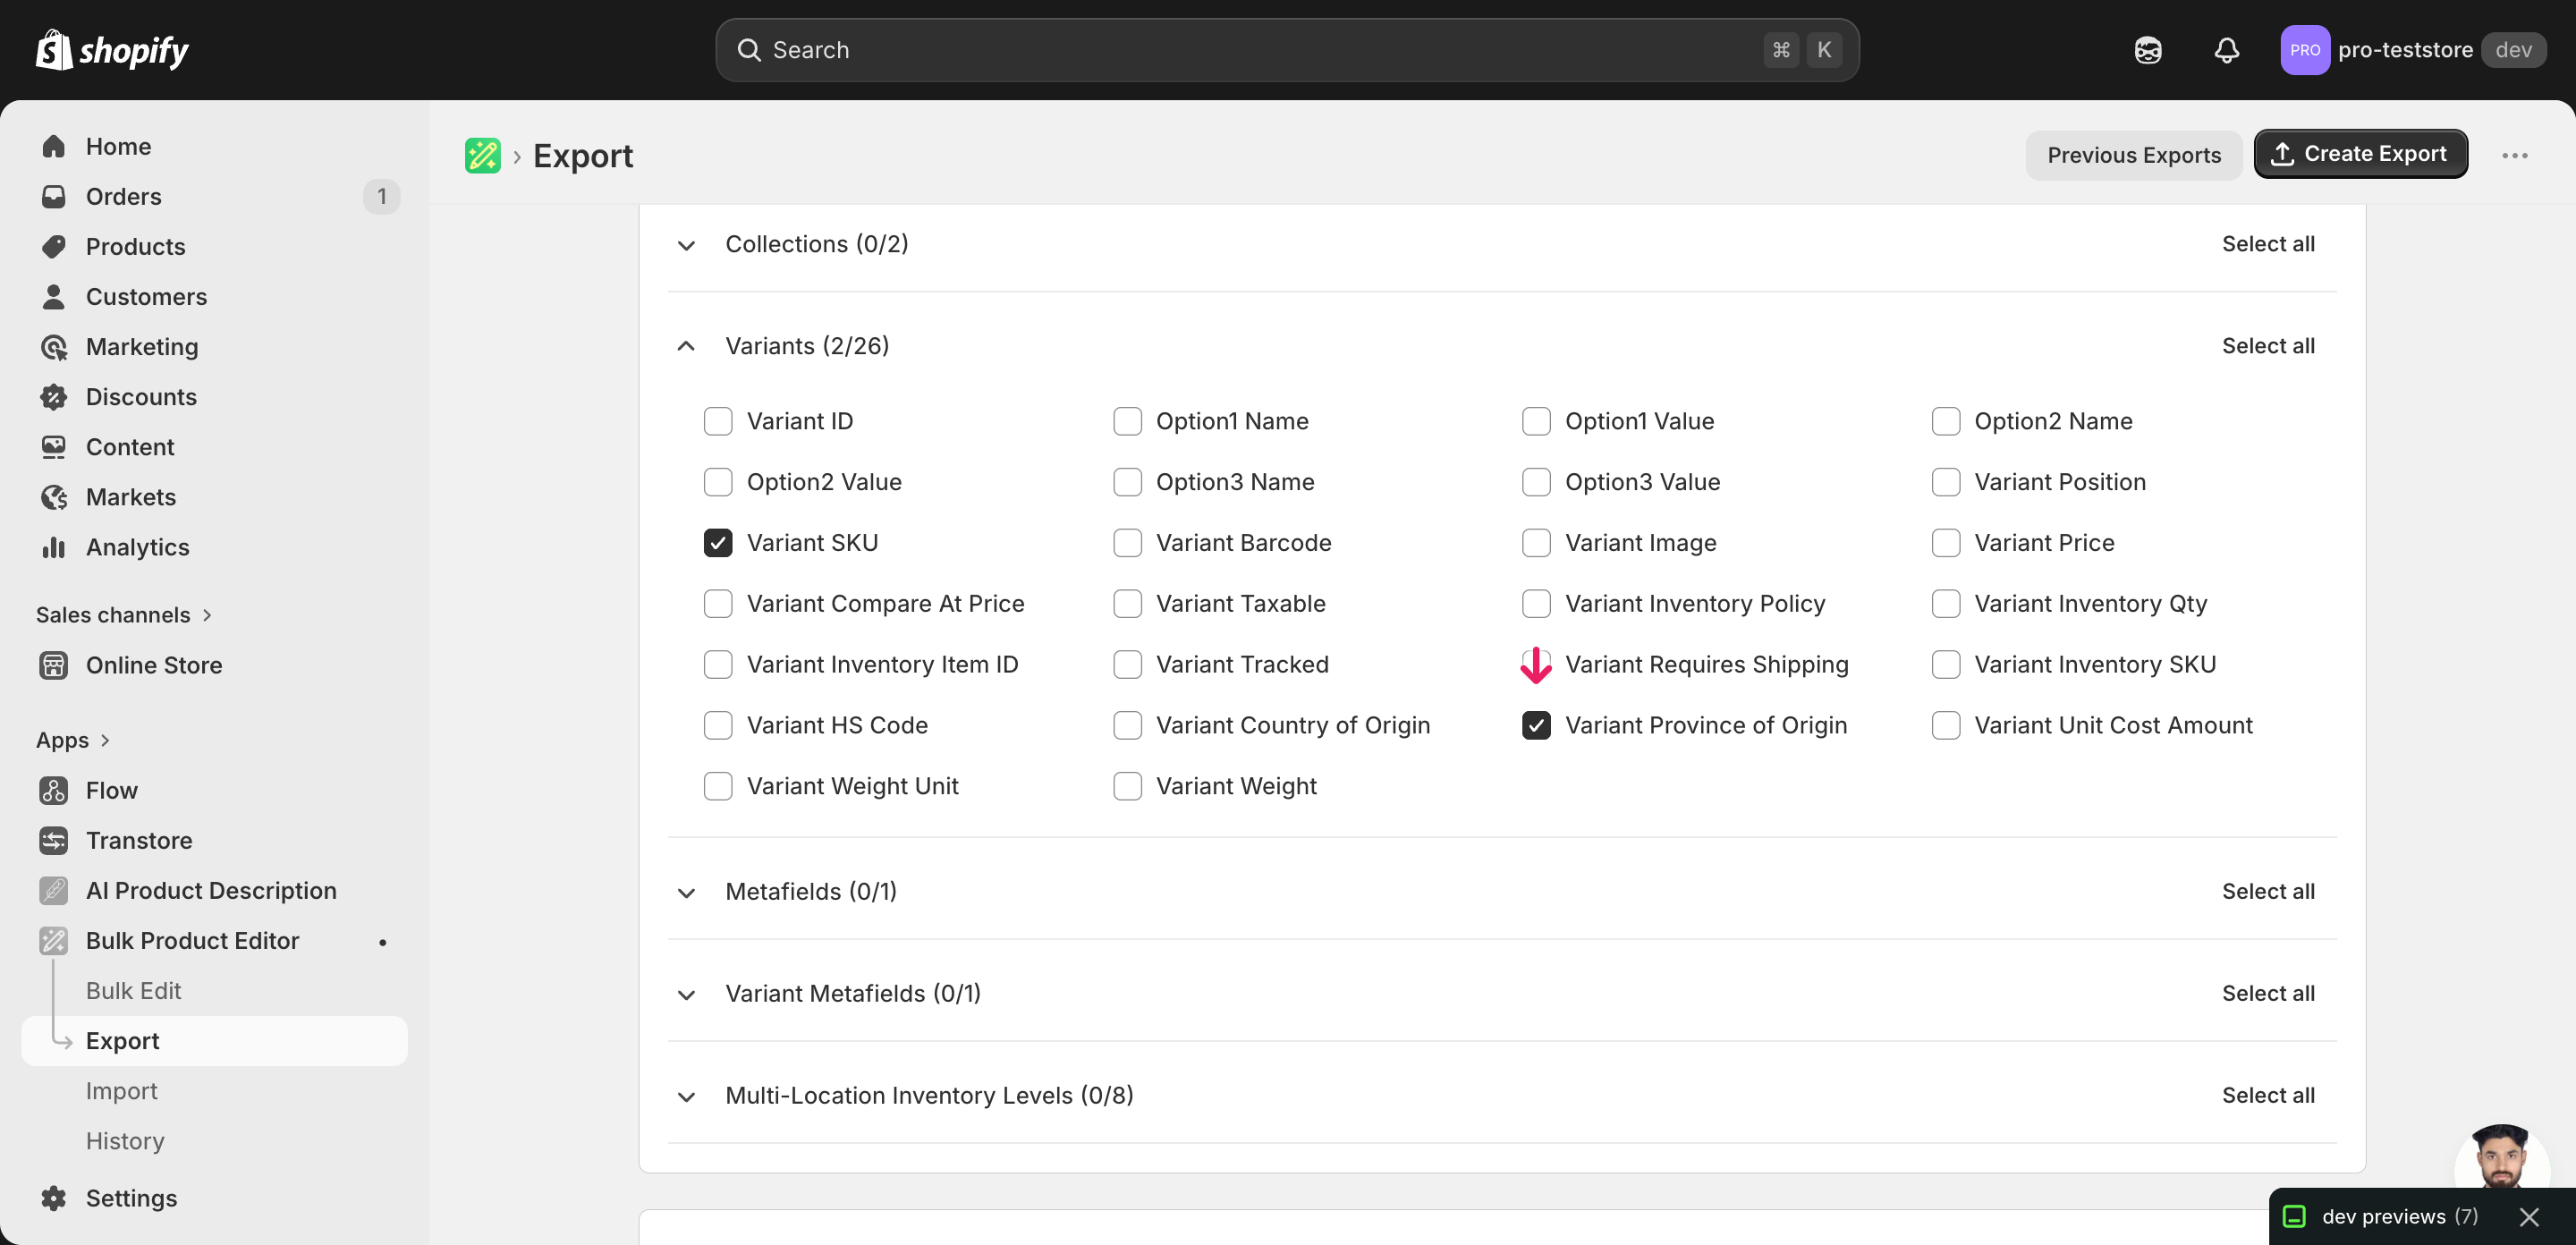
Pick the right columns
- Handle — the unique product identifier the importer uses to match each row back to the right product.
- Variant SKU — the matching key for the variant within the product. EditEngine uses Handle + Variant SKU together to pinpoint exactly which variant row to update.
- Variant Province of Origin Code — the column you'll edit. It holds the ISO 3166-2 subdivision code (for example
US-CA) for each variant. Expand the Variants group and tick this column along with Variant SKU.
When the export completes, click Download. You'll get one row per variant — products with several variants repeat across rows, and the second and later rows leave product-level columns blank, which is normal for variant exports.
New to exporting? This guide assumes you know how to run an export and focuses only on the columns and edit unique to this workflow.
Step 2 — Bulk update Shopify province of origin per variant in your spreadsheet
Open the downloaded CSV in Excel or Google Sheets. The Variant Province of Origin Code column holds whatever sub-region code each variant has today (often blank if you've never set it).
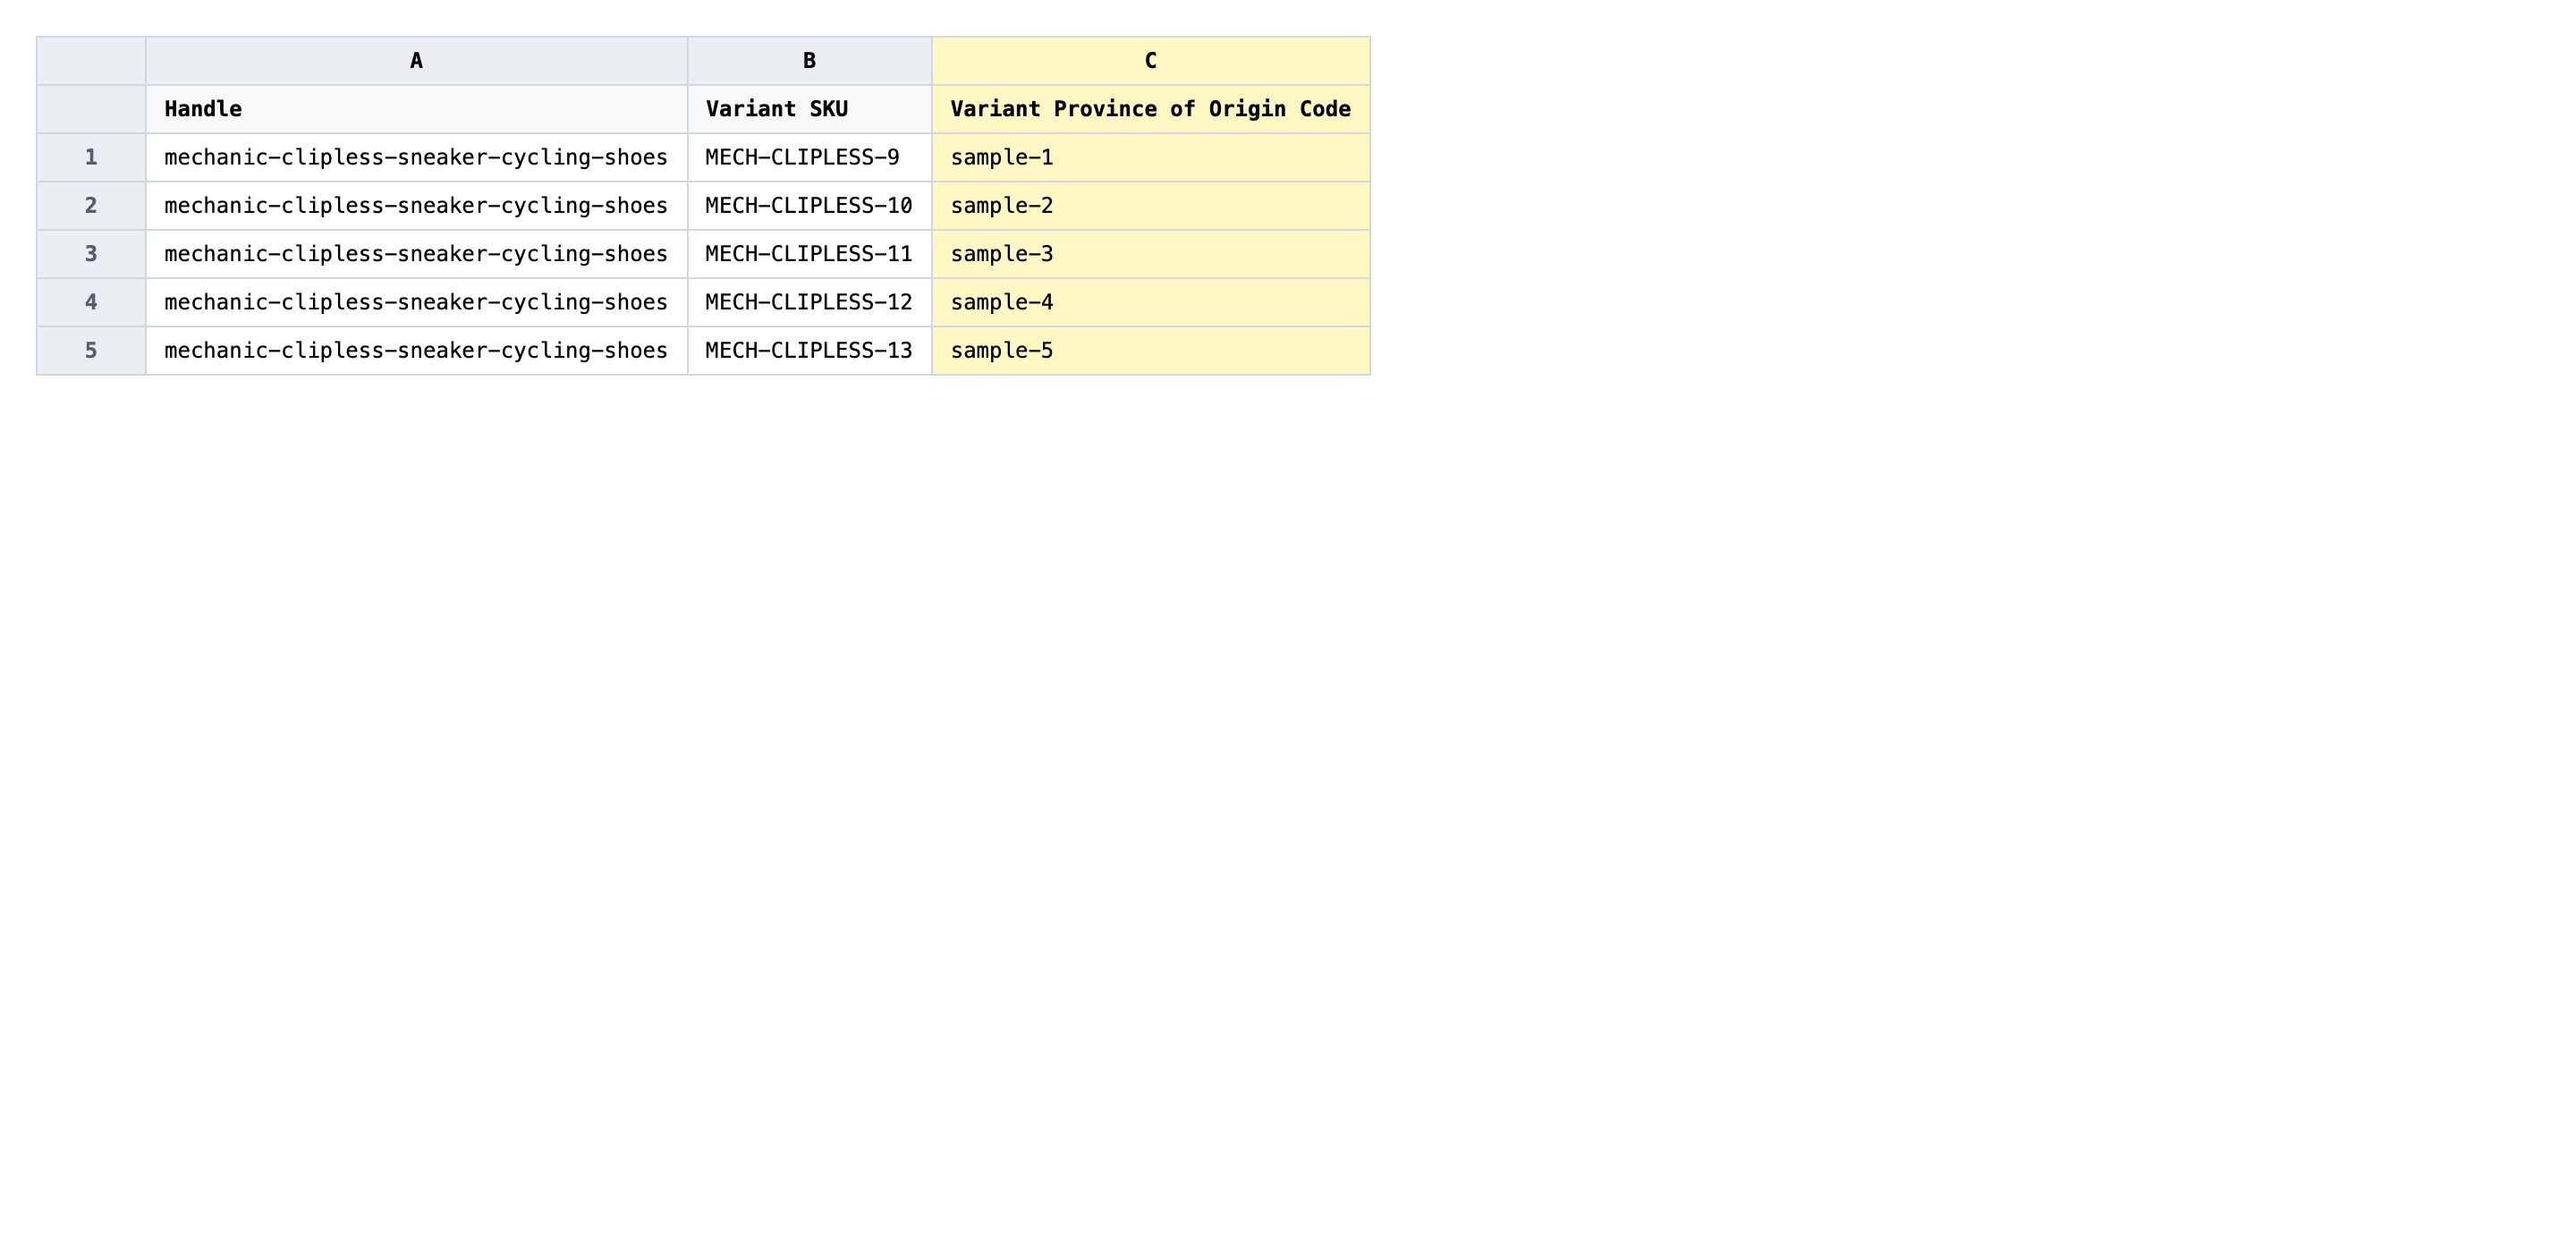
Write the ISO 3166-2 subdivision code in Variant Province of Origin Code for every variant row. The format is the two-letter country code, a hyphen, then the region code — for example US-CA for California, CA-ON for Ontario, JP-13 for Tokyo, IN-MH for Maharashtra. The province code must belong to the variant's existing Country of Origin or Shopify will reject the row.
- ✅
US-CA - ❌
California (Shopify expects the code, not the spelled-out name)
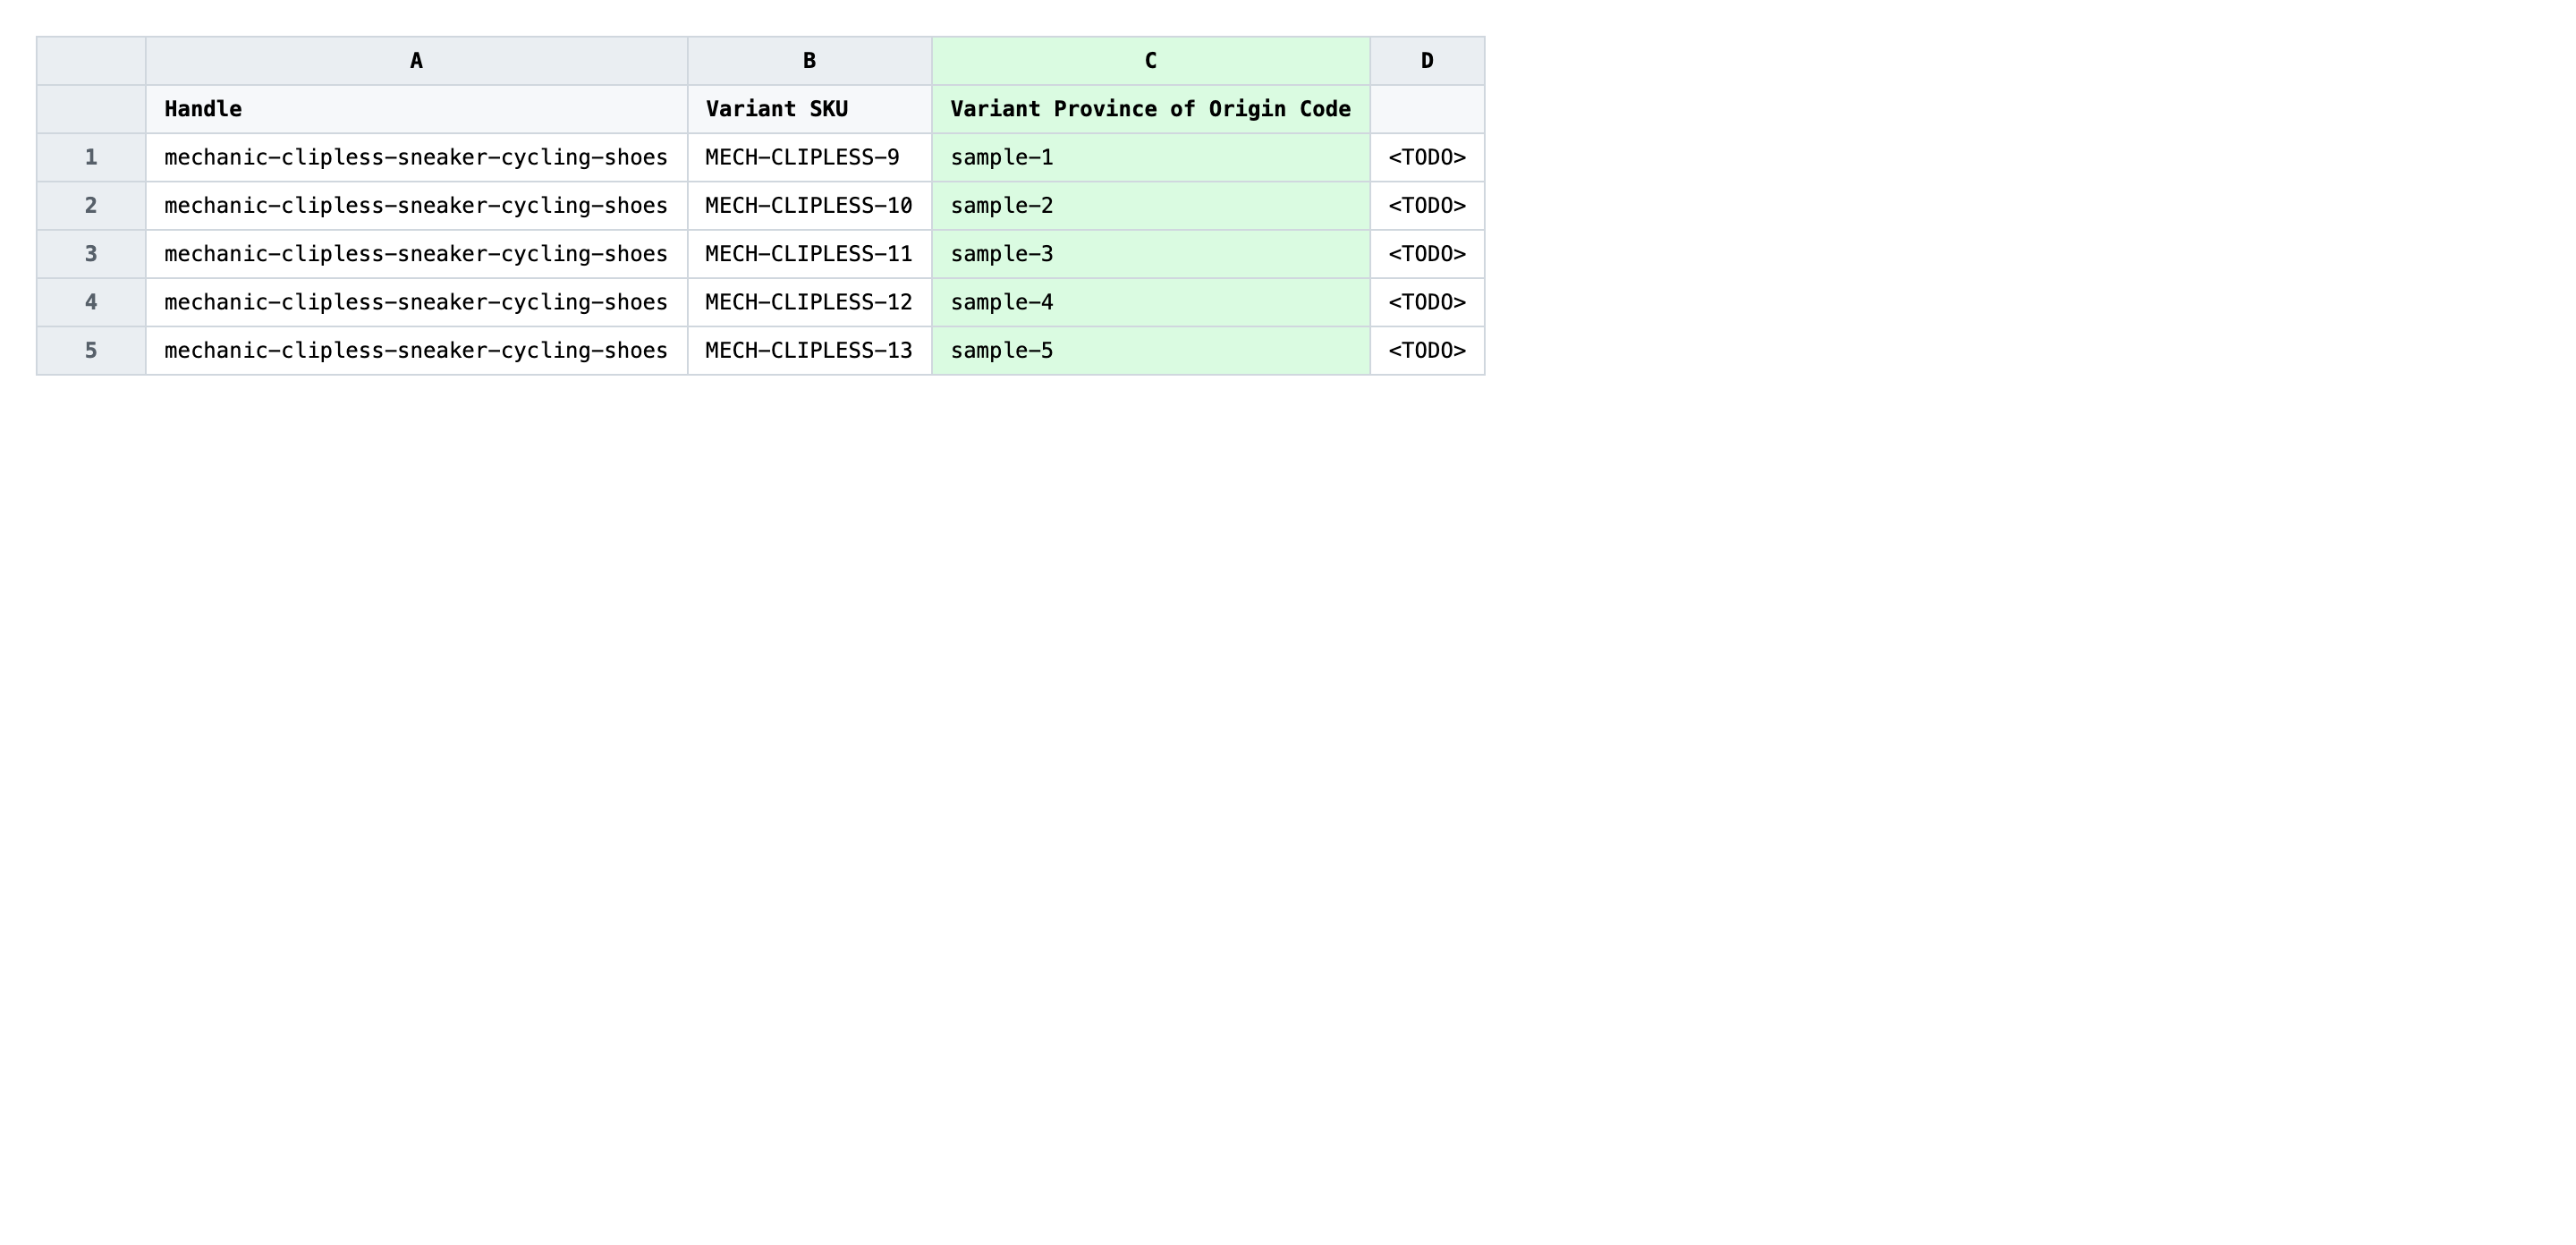
Leave Handle and Variant SKU exactly as exported — those are the matching keys, and changing them either points the row at the wrong variant or fails to match anything at all. If a row has a Handle but no Variant SKU, it's a placeholder for a product with no variants and you can leave its province code blank. Don't paste country codes (like US) into this column — that's a different field, and the importer will reject it.
Save the file as CSV when you're done, and keep the original export handy in case you want to revert.
Tip: Sort the spreadsheet by Country of Origin first — you'll fill long runs of variants shipping from the same country with the same handful of province codes, which is much faster than jumping around by SKU.
Step 3 — Import the edited file back to Shopify
Open EditEngine → Import and select Advanced import. Then upload the file you just edited.
EditEngine reads the file and shows a summary. Check the Headers panel: Variant Province of Origin Code should carry the VARIANT badge, which confirms the importer recognized it as a per-variant field, and Variant SKU should be flagged as the variant key. Leave Match Products By on Auto-detect and Default Command on Merge.
Note: This advanced import does not have a dry-run toggle. Province of origin updates only overwrite a single text field per variant — no inventory, pricing, or images move — but invalid codes are rejected silently row by row. Run a first import with three or four variants spanning two different countries, check the results CSV for any rejected rows, then import the full file once you've confirmed the codes resolve.
Click Start Import and wait for the job to finish — a small file takes seconds, larger catalogs a couple of minutes. When it completes, EditEngine shows a per-row summary.
Download the results CSV. It lists every row with a pass/fail status — that file is your proof the change went through, and the new values are now live in your Shopify admin.
Tips and troubleshooting
Use ISO 3166-2 codes, never the spelled-out name. Shopify's province of origin field is strict: it accepts US-CA but not California, CA-ON but not Ontario. If you paste names from a marketing spreadsheet, every row will be rejected. Keep a reference tab in your sheet with the codes you use most, or pull the full ISO 3166-2 list once and use a VLOOKUP to translate names into codes before you import.
Country of Origin has to be set first. A province code only resolves inside its parent country. If a variant has no Country of Origin set, or its country doesn't match the prefix of the code you wrote (for example CA-ON on a variant whose country is US), Shopify rejects the row. Export Country of Origin alongside the province code so you can spot mismatches in the spreadsheet before importing.
Test on a tiny batch before the full catalog. Because invalid province codes fail silently per row rather than blocking the whole job, a typo in your formula can quietly skip thousands of variants without surfacing as an error. Import three or four variants spanning your two or three most common countries first, open the results CSV, and confirm each row reports success — then run the full file with confidence.
Frequently asked questions
How do I bulk update province of origin in Shopify?
Export your variants from EditEngine with the Handle, Variant SKU, and Variant Province of Origin Code columns, then edit the province code on each row in a spreadsheet and import the file back through the advanced import flow. That round-trip is how you bulk update Shopify province of origin per variant without clicking through each variant in the admin.
Can I edit Shopify province of origin in a spreadsheet?
Yes. EditEngine exports one row per variant with its current province code, and you can bulk edit Shopify province of origin in Excel, Google Sheets, or any CSV editor. Shopify's own admin has no per-variant bulk editor for the province field, so the spreadsheet round-trip is how merchants do it at scale.
How long does a bulk province of origin import take in Shopify?
A few dozen variants finish in seconds. A catalog of a few thousand variants usually completes in a minute or two when you bulk update Shopify province of origin per variant, and EditEngine streams the import so larger files don't time out. The results CSV reports the exact duration for the job.
What format does Shopify accept for province of origin imports?
Shopify expects the ISO 3166-2 subdivision code — a hyphenated country-region string like US-CA, CA-ON, or IN-MH — not the spelled-out province name. EditEngine's advanced import reads a CSV or XLSX with a Handle, a Variant SKU, and a Variant Province of Origin Code column in that exact format.
Can I undo a bulk Shopify province of origin update?
There's no one-click undo, but the workflow is its own backup: keep the original export, and to revert just re-import that unedited file. Because the import only overwrites the province code field on each variant, nothing else about the product is touched.
Related tutorials
About EditEngine: EditEngine Bulk Product Editor helps Shopify merchants bulk edit, bulk import, and bulk export their product catalog in minutes instead of days. Install on Shopify →